Dashboard By Example
In this quick start section, we will quickly demonstrate how to use and extending Muto Dashboard
Prerequisites
Definition
Muto Dashboard is an example web based user interface for managing and monitoring Eclipse Muto concepts such as EdgeDevices (Cars) and the Stacks (ROS software) running on these devices. You can extend the Dashboard with liveUI plugins that enables the user to communicate with Muto driven vehicles and their Digital Twins. An example Muto Dashboard that works with Muto Sandbox is is made available to you at https://dashboard.composiv.ai
Running the Dashboard Locally
Create a work directory to clone the Dashboard source code from Github repository and start it, and then follow these steps to use and extend the dashboard. This project was bootstrapped with Create React App, you can read more about it here.
- Clone the repository:
git clone https://github.com/eclipse-muto/dashboard
How to Start
First Install npm dependencies (from the root folder where package.json is located):
cd yourdirectory/dashboard
npm install or npm i (identical)
npm run start or npm start (see difference)
You should see
ℹ 「wdm」: Compiled successfully.
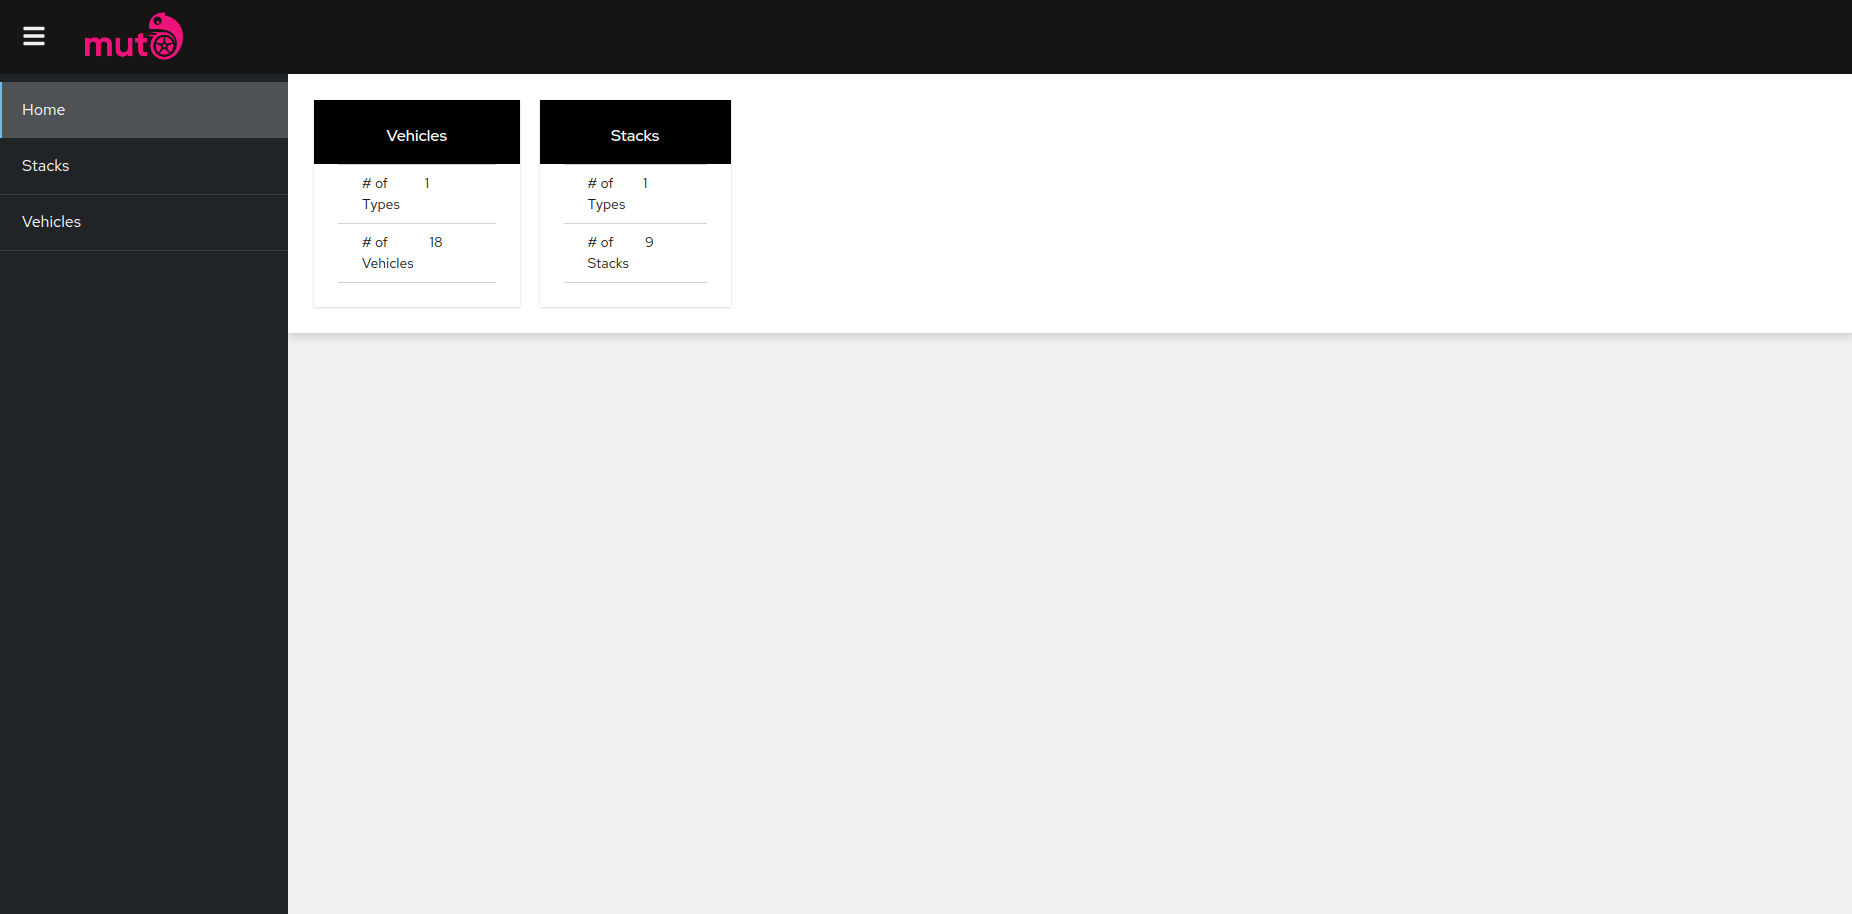
and the server should start. You will be greeted by the page similar to the one in Muto by Example
The only difference is that we will Add a new page to remotely control the F1Tenth simualted car
Creating a new Remote Control Plugin
We will create a new plugin project that can be added to the dasboard. Plugins are micro frontends that can be dynamically assembled into a parent application at runtime. You should consult the LiveUI sections of these document and other examples to learn more about them. We will basically follow the instructions here to create a new Dashboard Plugin.
First, we need to install liveui wizard to create a new LiveUI app. To install the new package, use one of the following commands. You need administrator privileges to execute these unless npm was installed on your system through a Node.js version manager (e.g. n or nvm).
npm install @eclipse-muto/liveui -g
After installation, you will have access to the liveui binary in your command line. You can verify that it is properly installed by simply running liveui, which should present you with a help message listing all available commands.
npx @eclipse-muto/liveuican be run for the same purpose.
To create a new LiveUI app with remotable components, you may choose one of the following methods:
% nnpx  @eclipse-muto/liveui
 _ _              _
| (_)_ _____ _  _(_)
| | \ V / -_) || | |
|_|_|\_/\___|\_,_|_|
https://eclipse-muto.github.io/docs/

Create a new liveui project:
? Please choose a project type. react - Create a liveui react project
? Project name: f1tenth
? Enable Typescript? (Y/n)
This prompt runs the LiveUI project wizard and will ask a project type and a project name. For this example, choose the project type as react and follow the wizard instructions (use f1tenth as the name, and choose Typescript as the programming language). The wizard will generate your project and start to install the required packages. When it's done you can start to develop your first LiveUI project. This project will contain a component that can be consumed by other web apps.
Once the installation is done, you can open your project folder:
cd f1tenth
The initial project structure:
f1tenth
│
├── README.md
├── internals
│   └── index.js
├── package-lock.json
├── package.json
├── public
│   └── index.html
└── src
    └── index.js
No configuration or complicated folder structures are created, only the files you need to build your app are added. Inside the newly created project, you can now run the following commands. Now add a src/liveui.config.js advanced configuration as decribed here. You can find the enterise source code here:
{
    hotReloadContext: 'src',
    devPort: 4007,
    microPort: 5007,
    exposes: {
        'f1tenth': './src/index.tsx'
    },
    shared: [
        'react',
        'react-dom',
        'react-router-dom',
        '@patternfly/react-core',
        '@patternfly/react-icons',
        'html-loader',
        'style-loader',
        'uuid',
        'graphql',
        '@apollo/client'

    ],
}
Also make the changes for the required Javascript libraries to the package.json so:
{
  "name": "f1tenth",
  ...
  "peerDependencies": {
+   "@apollo/client": "^3.7.0",
+   "@patternfly/patternfly": "^4.159.1",
+   "@patternfly/react-core": "^4.175.4",
+   "@patternfly/react-icons": "^4.26.4",
+   "css-loader": "^3.5.3",
+   "file-loader": "^6.0.0",
+   "graphql": "^15.8.0",
+   "html-loader": "~1.1.0",
+   "image-webpack-loader": "^6.0.0",
+   "react": ">=16",
+   "react-dom": ">=16",
+   "react-router-dom": "^5.3.0",
+   "react-scripts": "5.0.1",
+   "style-loader": "^1.2.1",
+   "svg-url-loader": "^5.0.0",
+   "url-loader": "^4.1.0",
+   "uuid": "^8.3.2"
  },
  "devDependencies": {
    ...
+    "webpack": "4.44.2"
  },
  "dependencies": {
+    "mqtt": "^4.3.7",
+    "react-joystick-component": "^4.1.0",
+    "react-json-view": "^1.21.3"
  }
}
npm start
Runs the app in development mode and serve the initial remote component.
This application is no different from a traditional React application. However, LiveUI has added a remote configuration for component that is running on http://localhost:5007 and it is ready to be used in other React applications for development or deployment.
Adding the new components to the Dashboard
Next, we will switch to the dashboard project and edit the liveui.config.js under the src folder to add the following:
const config = {
    ...
    remotes: {
+      "f1tenth": "http://localhost:5007/f1tenth",
        "dashboard-device": global.__DEV__ ? 'http://localhost:5005/dashboard-device' : `/dashboard-device?${timestamp}`,
        "dashboard-stack": global.__DEV__ ? 'http://localhost:5006/dashboard-stack' : `/dashboard-stack?${timestamp}`,
    },
}
export default config;
And add the new plugin to the Dashboard menu by:
  // Code deleted for brevity

  const ParamList= props =>  <RemoteComponent  form={{component: "ParamList", from: "dashboard-device"}}  {...props} />
  const ParamDetail= props =>  <RemoteComponent  form={{component: "ParamDetail", from: "dashboard-device"}}  {...props} />


+ const F1tenthList= props =>  <RemoteComponent  form={{component: "VehicleList", from: "f1tenth"}} {...props} />
+ const F1tenthVehicleDetail= props =>  <RemoteComponent  form={{component: "VehicleDetail", from: "f1tenth"}} {...props} />

  // Code deleted for brevity

+ {
+   component: F1tenthList,
+   exact: true,
+   isAsync: true,
+   label: 'F1Tenth',
+   path: '/f1tenth',
+   title: 'Eclipse Muto | Vehicle List',
+ },
+ {
+   component: F1tenthVehicleDetail,
+   exact: true,
+   isAsync: true,
+   //label: 'F1Tenth Vehicle Controls',
+   path: '/f1tenth/:thingid',
+   title: 'Eclipse Muto | F1Tenth Vehicle Controls',
+ },
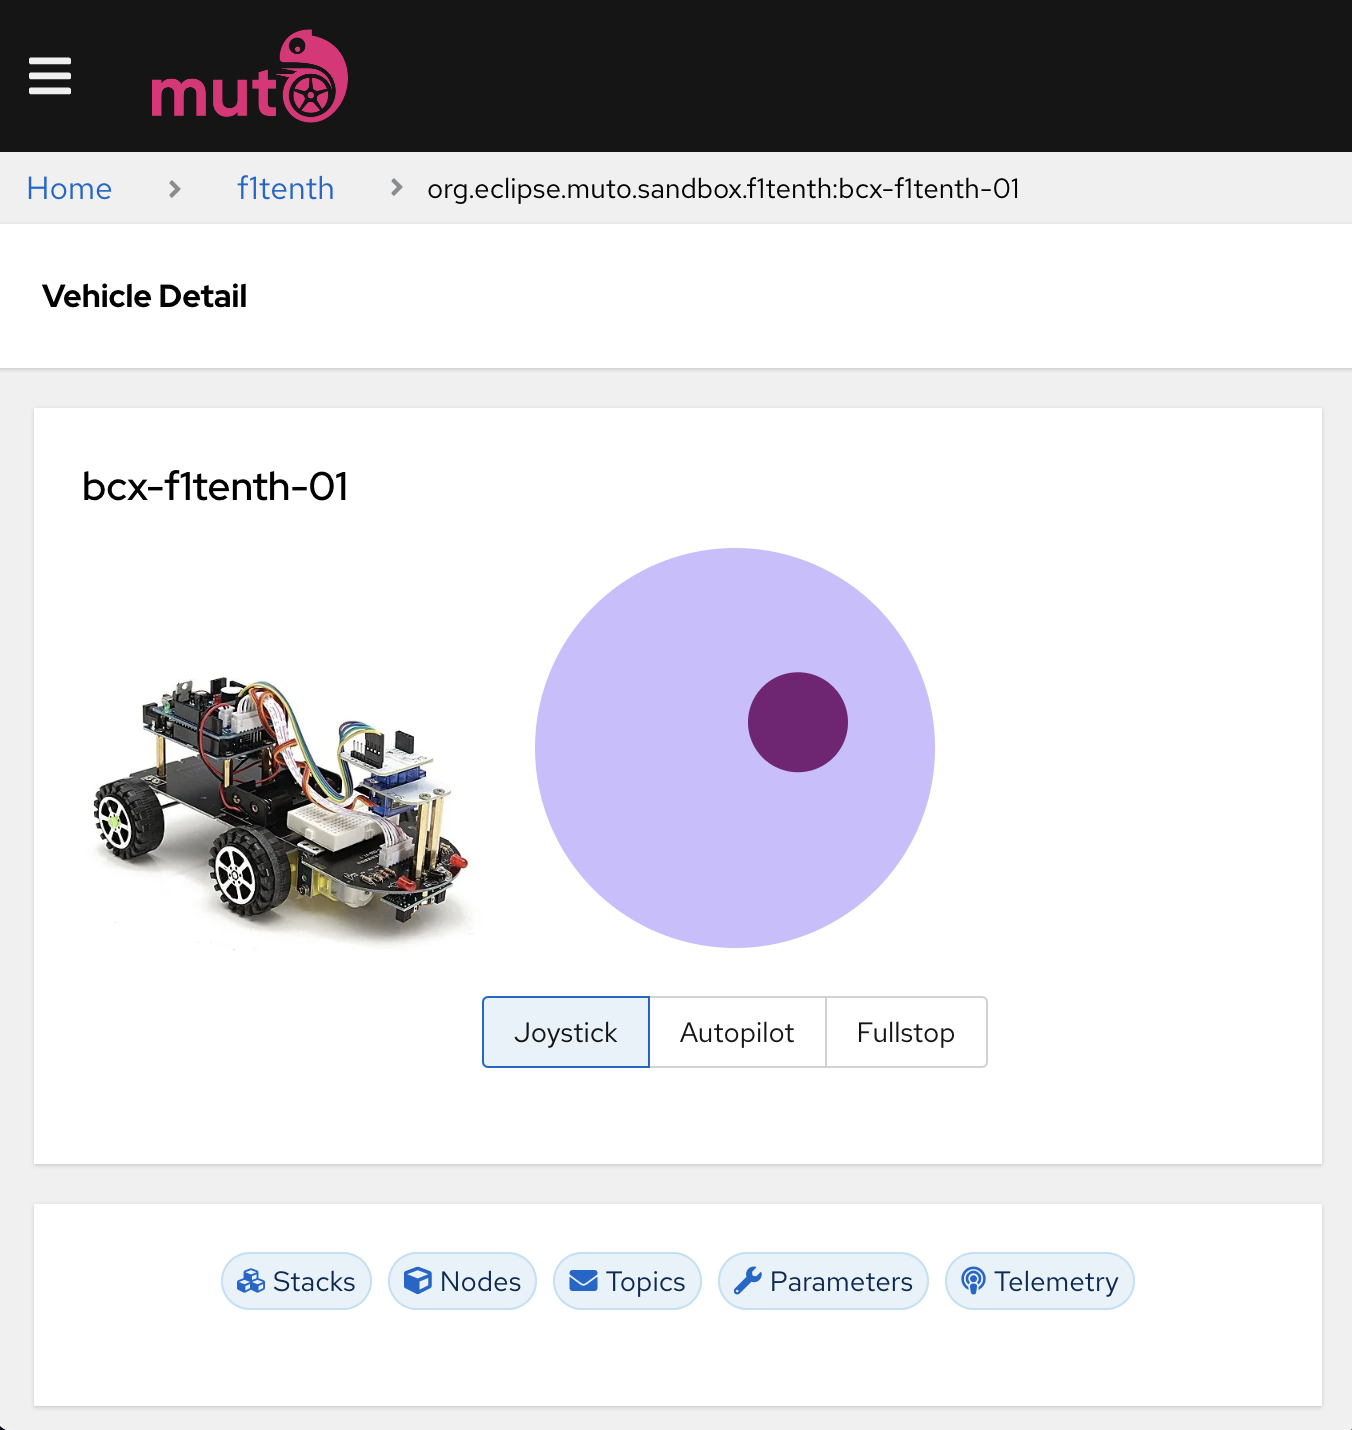
Run npm start and Navigate to your car and give it a try! In this example we add to the ones before so that you can use the joystick for remote control. Follow the steps in Muto by Example and then you can give inputs through the joystick and observe the corresponding vehicle movement in foxglove.
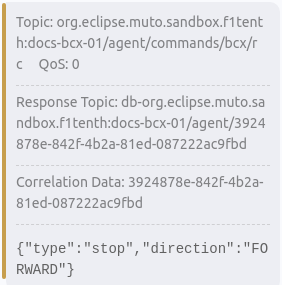
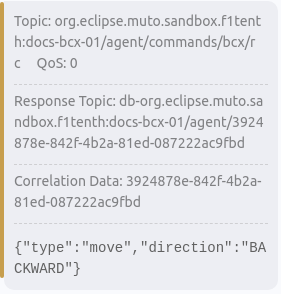
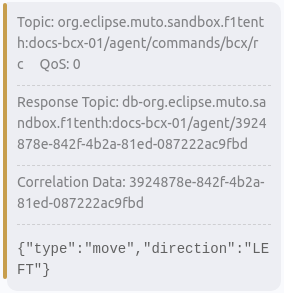
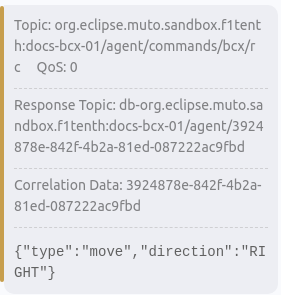
MQTT Messages
You can inspect th mqtt messages between the Dashboard and Eclipse Muto components using the MQTTX tool. Connect to mqtt://sandbox.composiv.ai:1883 ans subscribe to #. When you move the joystick in the corresponding directions you should see the MQTTX messages.